Whether you’re looking to stay within your budgets or you’re hoping to ensure that experiments run effectively and without a hitch, your first step should always be equipment maintenance.
Without a spotless lab in which to work, the risk of cross-contamination is likely making good housekeeping almost as important to your work as the study itself. And, the benefits of good lab maintenance don’t end there. Equipment is often one of the biggest outlays in a lab so taking adequate care of what you have (therefore preventing unnecessary re-purchases) is an added bonus.
If you know that you’ve been putting less time and consideration into lab maintenance than you should then take a look at our Lab Maintenance 101 checklist and download our useful guide.
Quick Navigation
- How to clean laboratory equipment
- Used Lab Equipment and Quality Replacements
- Laboratory equipment maintenance checklist
- What do the various laboratory safety symbols mean?
How to clean laboratory equipment
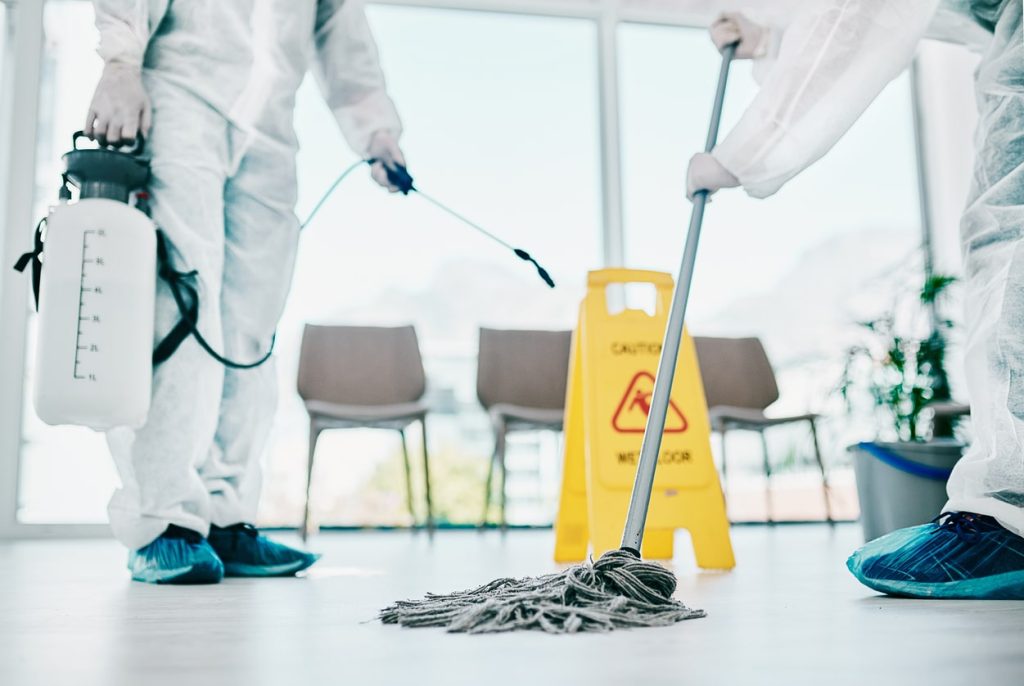
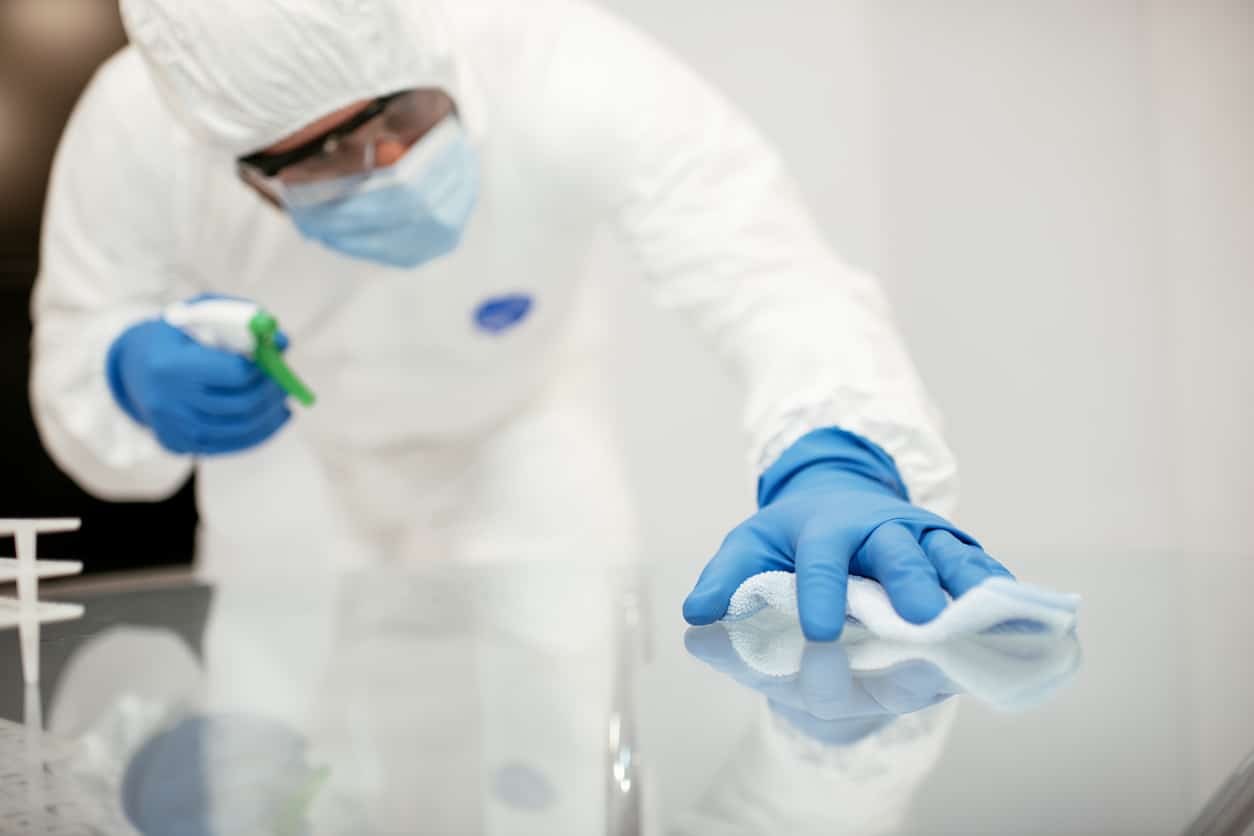
General Cleaning
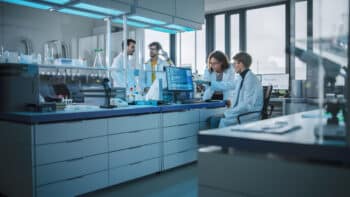
Lab cleanliness is one of the easiest, most affordable and most obvious ways to keep your lab in great shape but it’s surprisingly more overlooked than you may think.
It’s advisable to:
- Carry out a daily wipe down of all equipment exteriors
- Carry out a weekly deep clean of all equipment
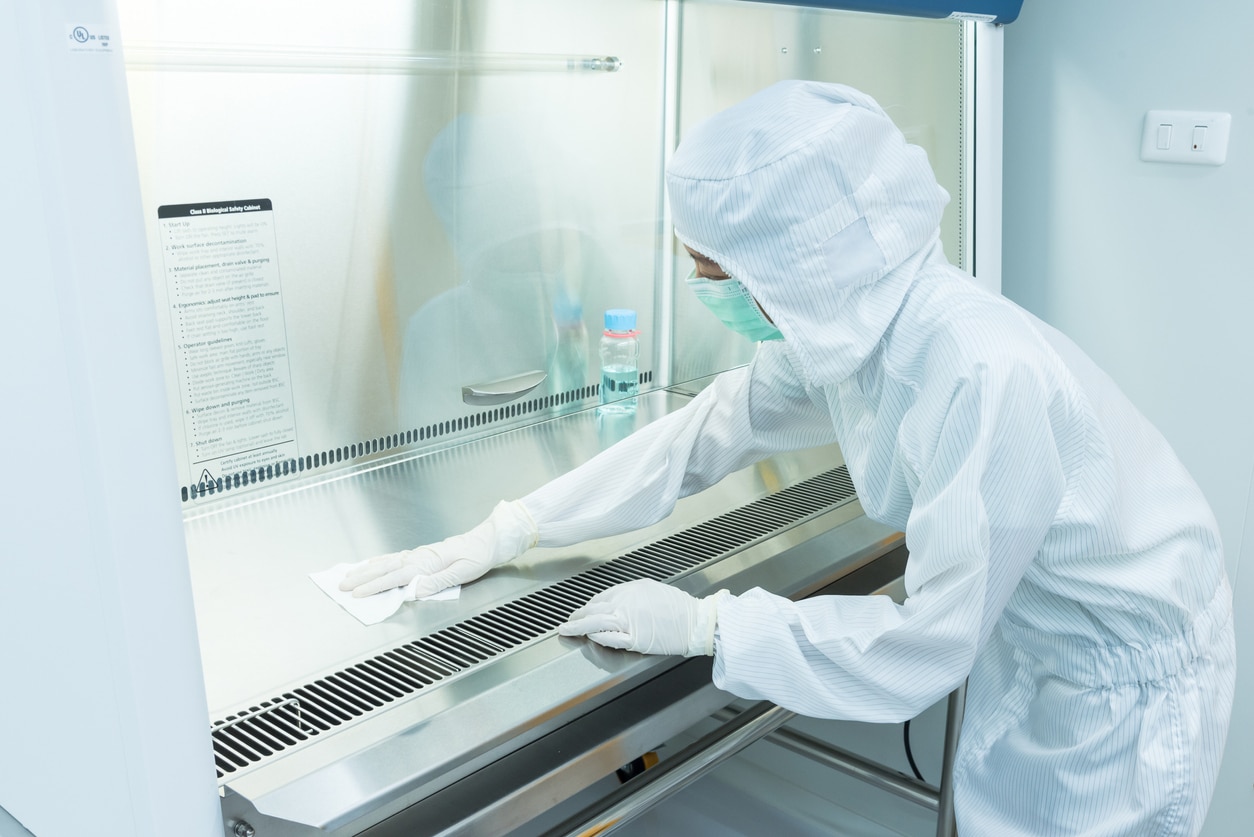
- Carry out a regular deep clean of microscopes using a 70:30 mixture of ether and alcohol – this ensures that they are sufficiently clean to yield most accurate results
- Consult the manual or lab manager on any specific processes for cleaning demanding equipment. Haematology machines, for example, typically require a 6 monthly check by an engineer, a weekly analyser surface clean and an HC control check monthly.
- Consider outsourcing cleaning of challenging items to a qualified professional; third party equipment maintenance and cleaning can be a cost-effective alternative.
Following these simple cleaning procedures will keep equipment in peak condition so that your lab runs without a hitch. Exposed surfaces should be wiped down on a daily basis, while it’s also a good idea to schedule in a deep clean once a week.
Calibration
Failure to regularly calibrate equipment can lead to a lack of accuracy with your data, an oversight which could end up bringing entire experiments to a halt. Additionally, proper calibration can also improve lab safety wherever hazardous chemicals are used. As a result, it’s imperative that the process is conducted on a consistent basis. There are various services available to ensure your equipment is regularly calibrated and done so to the right standard.
It’s advisable to:
- Carry out an inventory of your equipment and decide which is most suitable for each item – from basic preventative maintenance to more advanced accuracy verification.
- Regularly calibrate equipment for ongoing preventative maintenance that will keep your lab in optimal condition.
Repairs
From time to time, lab items will wear out and stop working. But, rather than immediately disposing of faulty equipment, take the time to see if parts could be replaced or items can be repaired instead.
You may be surprised by how likely it is that equipment can be updated and maintained instead of merely disposed of.
Particularly with larger items, repairing and replacing parts can be an effective way to increase lifespan and keep down costs. Due to the nature of the items, some parts will wear quicker than others but, when adequately managed, these can be replaced in time to prevent problems or burnout. Consider centrifuges, filtration systems and microscope lenses: each of these can be simply replaced without the need to dispose of the entire machine.
Refurbishment
For faulty equipment, repairing can be invaluable but if your items still work (just not as smoothly as before) refurbishment could hold the key. If you’re looking to refurbish older items of equipment, then consider carrying out the following process:
- Take the entire piece of equipment apart
- Fully clean each component
- Polish components where necessary
- Re-lubricate any moving parts
- If parts are showing signs of wear and tear, consider replacing them at this preventative stage
- Put the equipment back together
Of course, you’ll need to know a thing or two about the items you’re working with to carry out the above procedure, but this can help items return to good as new.
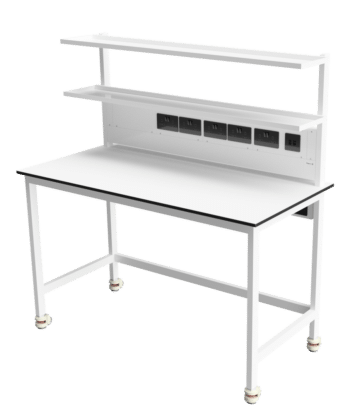
Used Lab Equipment and Quality Replacements
There will undoubtedly be times when no matter how well you’ve completed your daily cleans, or carried out regular calibration or even repaired and refurbished older items, you will need to purchase replacements.
It can be tempting to take what initially looks like the economical route and scrimp on equipment by choosing the less expensive model. Unfortunately, this offers a false economy: “buy cheap, pay twice” as the old adage goes. The parts in cheaper items of equipment are often more prone to wear and tear and therefore less likely to go the distance. Therefore, choosing high-quality lab equipment over less expensive alternatives usually offers enhanced durability, particularly for items of equipment that are used regularly.

Consider the following:
-
- High-quality lab equipment is often easier to find parts for
- It’s usually a more straightforward process to clean and refurbish high-quality items
- If you only intend to use the item for a short period of time or your budget is very tight, it could be worth looking into hiring good-quality equipment rather than purchasing the cheaper equivalents
Laboratory equipment maintenance checklist
Clean up every day
It’s a good idea to keep a basic housekeeping checklist for the laboratory to remind staff of which duties need to be taken care of on a daily basis, such as clearing and cleaning countertops, sweeping floors and sanitising the most common touchpoints of the lab.
Check personal protective equipment
The condition and quality of PPE before beginning any project must be maintained, so it’s essential to stress this. Have your staff regularly check eye and face protection, gloves, footwear and hearing conservation equipment for any wear and tear.
Restock handwashing stations
Handwashing sinks must be kept clean, while disinfectant soap dispensers and towels should be within easy reach. If the sink becomes clogged, then the issue must be immediately dealt with to reduce the risk of backup and contamination.
Maintain emergency stations
Maintain emergency eyewash and shower stations according to the given regulations and take the time to activate components in all stations several times a week to ensure proper operation. Arrange for regular station inspection by qualified technicians.
Clean all lab equipment
Before beginning a project, be sure to check the required equipment for their cleanliness. Upon finishing the project, equipment must be cleaned according to established standards.
Inventory the contents of refrigerators and freezers
It’s important to maintain an inventory of any items that require storage in refrigerators and freezers and include important information on the contents’ origin and expiration dates. Regular rotation makes inventory maintenance and timely disposal of expired items a lot easier.
Use the proper glass cleaning techniques
A lab washer-disinfector that has hot-air drying capabilities will be able to take on routine glassware cleaning. Additionally, ensure your staff are up to speed on the different manual techniques and products for properly washing glassware items such as beakers, flasks, pipettes and funnels.
Broken glass disposal
Designate a rubbish bin for broken glass and materials with sharp edges and keep it in a location all staff can easily reach. Don’t allow the bin to reach capacity; when the bin is half-full, dispose of its contents.
Inspect emergency equipment
Schedule regular inspections of your lab’s fire safety and sprinkler systems. First aids kits should be kept in easily reachable areas, while fire extinguishers need to be regularly checked to ensure they’re fully charged and properly stored.
What do the various laboratory safety symbols mean?
General Warning
The sign is a broad reminder that the area you’re working in is likely to contain hazards and risks and you should work accordingly.
Flammable Material
This sign commonly occurs in labs and means that flammable materials are likely to be present.
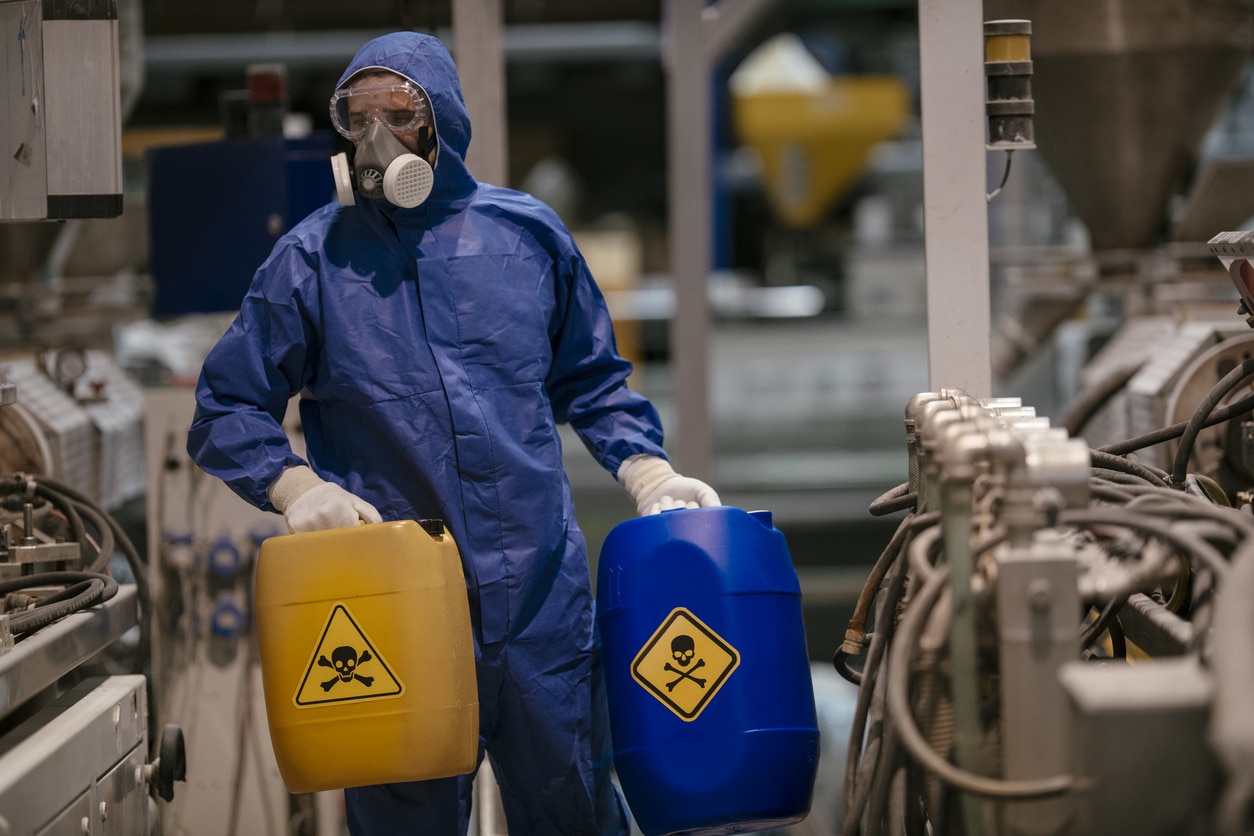
Toxic Material
You’ll find this sign-in areas where substances are held that could prove harmful to humans if they are inhaled, ingested or they come into contact with skin.
Low Temperature
The symbol denotes low temperature or cryogenic hazards.
Non-Ionising Radiation
You’ll find this symbol in areas where non-ionising radiation is present.
Biohazard
Items in this area have likely been in contact with biohazardous materials and therefore run the risk of being contaminated.
Oxidising Material
Oxidising materials such as bromine, chlorates, nitrates, perchloric acid and peroxides.
Ionising Radiation
Ionising radiation (in other words, radiation that has enough energy to liberate electrons from atoms or molecules and ionise them) is present.
Laser Beam Hazard
The sign denotes the presence of laser beams.
UV Light Hazard
Ultraviolet light is present.
Explosive Material Hazard
This symbol denotes that chemicals with explosive properties are present in the area including unstable explosives that can cause dangerous chemical reactions.
Enjoyed this article? There’s plenty more to be found over on the InterFocus blog. Looking for information about our bespoke fitted labs? Visit our homepage or call the team on 01223 894 833.