A hygienic laboratory is a safe laboratory, allowing the staff and personnel to carry out their duties to the fullest, and ensuring accidents and incidents are kept to a minimum. In order to create the right lab environment, however, it requires the appropriate approaches to cleanliness and hygiene.
To make sure your lab is routinely kept in the safest, cleanest condition possible, we’ve created a handy resource to refer to. From cleaning glassware and hotplates to wiping down surfaces in the correct manner, you’ll find a complete guide to laboratory hygiene below.
Some laboratory housekeeping best practices
Before we get into any specifics with your lab’s hygiene, you and your lab staff should follow these basic best practices when dealing with the upkeep, tidiness and maintenance of the facility.
- Always keep the areas you’re working at tidy and clean
- Make sure that all eyewash stations, emergency showers, fire extinguishers and exits are unobstructed and accessible
- Only the materials required for your work should be kept in your work area. Everything else should be stored elsewhere, where it is safely out of the way
- Only lightweight items should be stored on top of cabinets; heavier items should always be kept at the bottom
- Solids should always be kept out of the laboratory sink
- Any equipment that requires air flow or ventilation to prevent overheating should always be kept clear
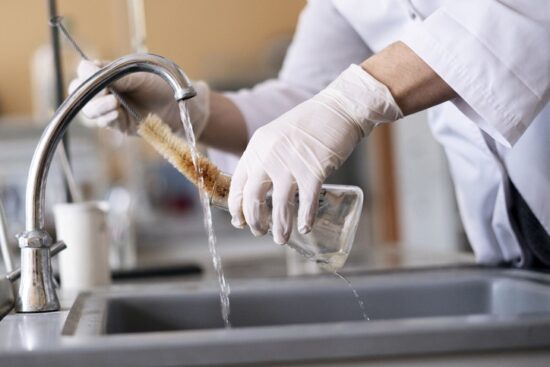
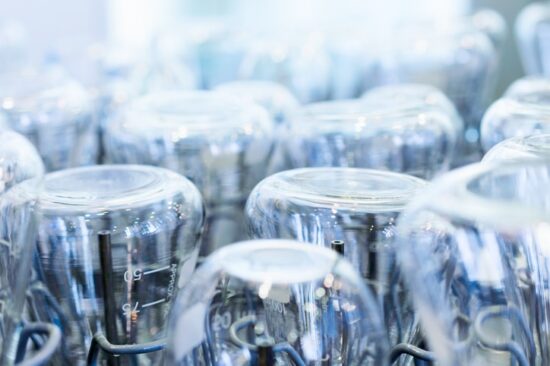
How to clean laboratory glassware
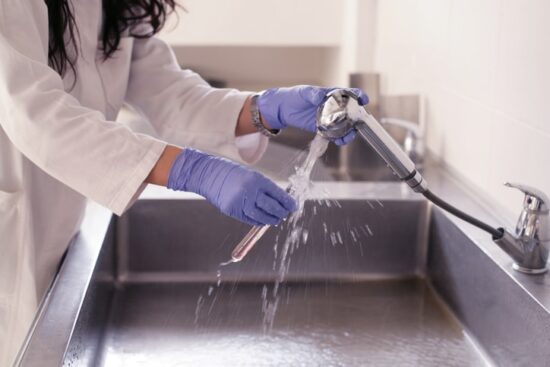
Glassware is best cleaned right away, using the proper solvent, distilled water and deionised water. Most of the time, you shouldn’t clean your glassware with detergent and tap water.
How to wash out common lab chemicals from glassware
- Water-soluble solutions such as sodium chloride or sucrose solutions
Rinse 3-4 times with deionised water, then put the glassware away.
- Water-insoluble solutions such as those in hexane or chloroform
Rinse 2-3 times with ethanol or acetone, rinse 3/4 times deionised water, then put the glassware away. In some situations, other solvents need to be used for the initial rinse.
- Strong acids such as concentrated HCl or H2SO4
Under the fume hood, carefully rinse the glassware with plenty of tap water. Rinse 3-4 times with deionised water, then put the glassware away.
- Strong bases such as 6M NaOH or concentrated NH4OH
Under the fume hood, carefully rinse the glassware with plenty of tap water. Rinse 3-4 times with deionised water, then put the glassware away.
- Weak acids such as acetic acid solutions or dilutions of strong acids
Rinse 3-4 times with deionised water before putting the glassware away
- Weak bases
Rinse thoroughly with tap water to remove the base, then rinse 3-4 times with deionised water before putting the glass away.
Washing special glassware
- Glassware used for organic chemistry
Rinse the glassware with the appropriate solvent: use deionised water for water-soluble contents, and ethanol for ethanol-soluble contents, followed by a rinse in deionised water.
If the glassware needs scrubbing, scrub with a brush using hot water, rinse thoroughly with tap water, followed by rinses with deionised water.
- Burettes
Wash with hot soapy water, rinse thoroughly with tap water, then rinse 3-4 times with deionised water. Make sure they’re thoroughly rinsed – burettes need to be completely clean for use in quantitative lab work.
- Pipettes and volumetric flasks
In some cases, you need to soak these in soapy water overnight. Either way, clean pipettes and volumetric flasks using warm, soapy water, scrub if necessary and rinse with tap water followed by 3-4 rinses with deionised water.
To dry or not to dry?
We wouldn’t advise drying glassware with a paper towel or forced air since these methods can introduce fibres and impurities that cause contamination. Normally glassware can be air dried on shelves. If adding water to the glassware, it’s usually fine to leave it wet, unless it will affect the concentration of the final solution.
If glassware needs to be used immediately after washing and have to be dry, rinse it 2-3 times with acetone. This will remove any water and evaporate quickly.
How to clean laboratory pestle and mortar
Without proper cleaning, the pestle and mortar in your laboratory can become a big source of contamination. Below, you’ll find some quick and effective methods to keep your pestle and mortar clean.
Cleaning a black granite or agate pestle and mortar
These materials have a tendency to retain stains caused by oily or acidic materials; to avoid this, try the following steps:
- Rinse your mortar and pestle with running water
- Leave it to air dry
- Rinse with acetone and isopropyl alcohol before leaving to air dry once
Cleaning a metal or ceramic pestle and mortar
- Rinse with warm running water
- Use a gentle scrubber to remove any remaining debris from their surfaces
- Allow mortar and pestle to air dry
Cleaning a wooden pestle and mortar
- Remove any remaining debris with a paper towel or cloth
- Damped a clean cloth in warm water and wipe down their surfaces
- Allow mortar and pestle to air dry
- Using a dry, clean cloth, apply mineral oil to their surfaces. Mineral oil is odourless and does not spoil the texture of the pestle and mortar
How to clean a laboratory hot plate
Laboratory hot plates can present lab staff with a few potential dangers, such as personnel burning themselves or even starting fires. As well as taking the proper precautions when using such equipment, it’s important to ensure they’re cleaned in the correct manner too.
Ceramic tops
- Remove any burnt-on deposits or spills from the top plate with a scraper. Be sure to wear an insulated mitt when using a metal scraper
- When the top plate has cooled, use a damp paper towel to apply a few dabs of a non-abrasive cleaner, taking care of any remaining deposits or materials
- Finally, clean with water and wipe the ceramic surface down with a clean, dry paper towel
Aluminium tops
- To take care of dust and dirt, clean the top using a damp cloth with soap and water
- For burnt or dried on deposits, the flat edge of a wooden spatula should do the trick
- A few tablespoons of white vinegar with two pints of water should take care of more stubborn stains. Dip a clean cloth into the mixture and gently rub the exterior of the aluminium surface
- Avoid using abrasive pads or cleaners on such surfaces, as the metal will easily scratch

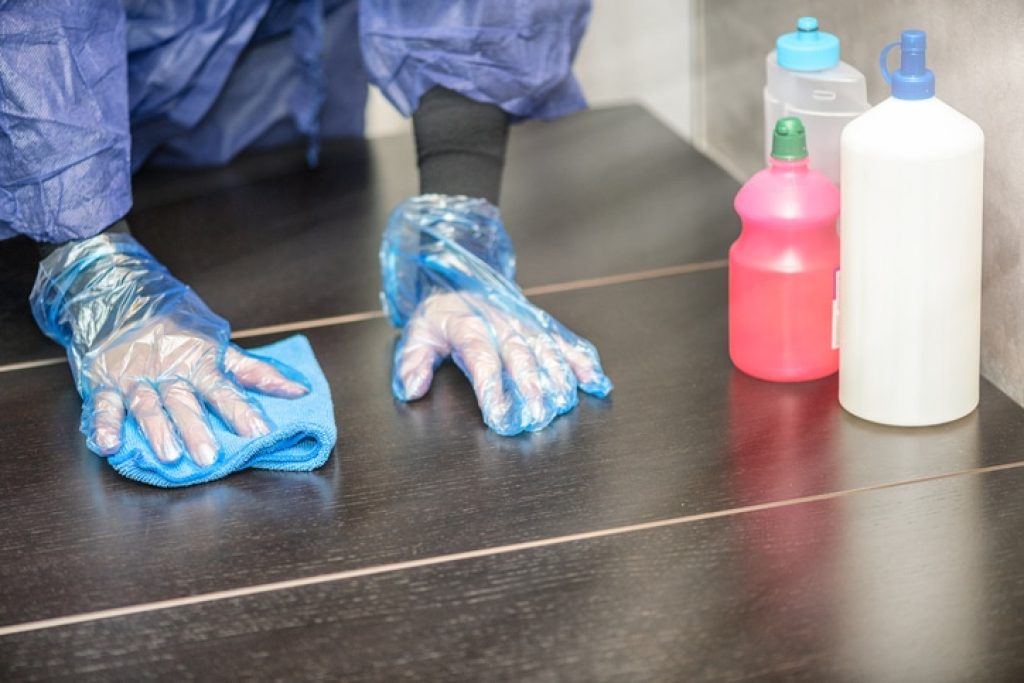
How to clean laboratory surfaces
Because of the use of chemicals and other hazardous materials used in laboratories, it’s not enough for workstations, benches and other surfaces to be organised – they require thorough and frequent disinfecting too.
Generally, a mixture of one-part 10 percent bleach and nine parts water should be sufficient for most surfaces.
Dip a clean cloth into the mixture and wipe every surface thoroughly, deeply cleaning corners, edges and undersides and use a wire brush if necessary to remove tougher stains and residue.
Keeping a clean, disinfected and tidy lab ensures that all your staff’s experiments and projects remain as accurate as possible, and keeps everyone safe from harmful chemicals and mess in the process.
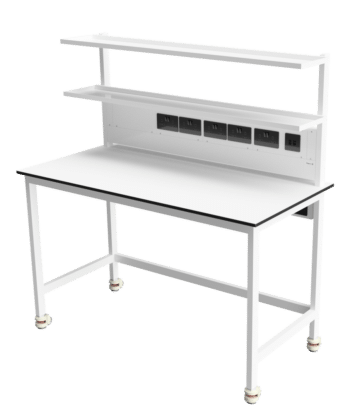
InterFocus can help you build the perfect laboratory for you and your team. For more information about our bespoke fitted labs, visit our homepage or call our team on 01223 894 833.